How To Backup Your Computer
A practical step-by-step guide to how to backup your computer, including preparation, instructions, common issues, tips, and next steps.
How To Backup Your Computer
Losing your photos, documents, and important files can be devastating. A hardware failure, theft, or a simple mistake could wipe them out forever. This guide provides clear, practical steps to back up your computer, ensuring your digital life is safe and secure. We'll walk you through choosing a method, using the free tools already on your Windows PC or Mac, and setting up an automatic system so you can set it and forget it. Protecting your data is easier than you think, and starting today gives you peace of mind.
Fast Answer
- For Windows: Connect an external drive, go to Settings > Backup, and use File History.
- For macOS: Connect an external drive, go to System Settings > General, and use Time Machine.
- Key Principle: Automate your backups so they happen daily without you thinking about it.
Before You Start
- An external hard drive or SSD. Aim for a drive with at least twice the storage capacity of the data you want to back up. For a 512GB computer, a 1TB or 2TB drive is a safe bet.
- A reliable internet connection. This is only necessary if you plan to use a cloud backup service. A faster connection will make the first backup much quicker.
- Administrator access. You'll need the main user account password for your computer to install software or change system settings.
- Uninterrupted time. The first backup can take many hours. Plan to run it overnight or during a time when you won't need to use your computer heavily or take your laptop on the go.
Step-by-Step Instructions
Choose Your Backup Method
The first step is deciding where your backup will be stored. There are three common options, each with its own advantages. Many people use a combination of two for the best protection.
- External Hard Drive: This is the most popular method. You buy a physical drive, plug it into your computer, and copy your files to it. It's fast, private, and has a one-time cost. The downside is that it can be lost, stolen, or damaged in the same incident (like a fire or flood) that affects your computer.
- Cloud Backup Service: Services like Google Drive, OneDrive, Dropbox, or dedicated backup providers like Backblaze store your files on the internet. This is excellent for protecting against physical disaster, and you can access your files from anywhere. The drawbacks are the ongoing monthly or yearly subscription fees and the fact that the first backup can be very slow, depending on your internet speed.
- Network Attached Storage (NAS): A NAS is like your own personal cloud storage. It's a device with one or more hard drives that connects to your home network. It's fast and private, but it is the most complex and expensive option to set up.
For this guide, we will focus on using an external hard drive, as it is the most common and straightforward method for beginners.
Tidy Up Your Files First
Backing up is a great opportunity to do some digital spring cleaning. There's no point wasting time and storage space backing up files you don't need. A quick tidy-up can make your first backup significantly faster.
Go through your computer and delete anything you are certain you no longer want. Pay close attention to your Downloads folder, which often fills up with old installers and temporary files. Empty your Recycle Bin or Trash when you are finished. Organising your remaining files into logical folders (e.g., "Work Documents," "Holiday Photos 2024," "University Essays") will also make it easier to manage and restore files later if you need to.
Prepare Your External Drive
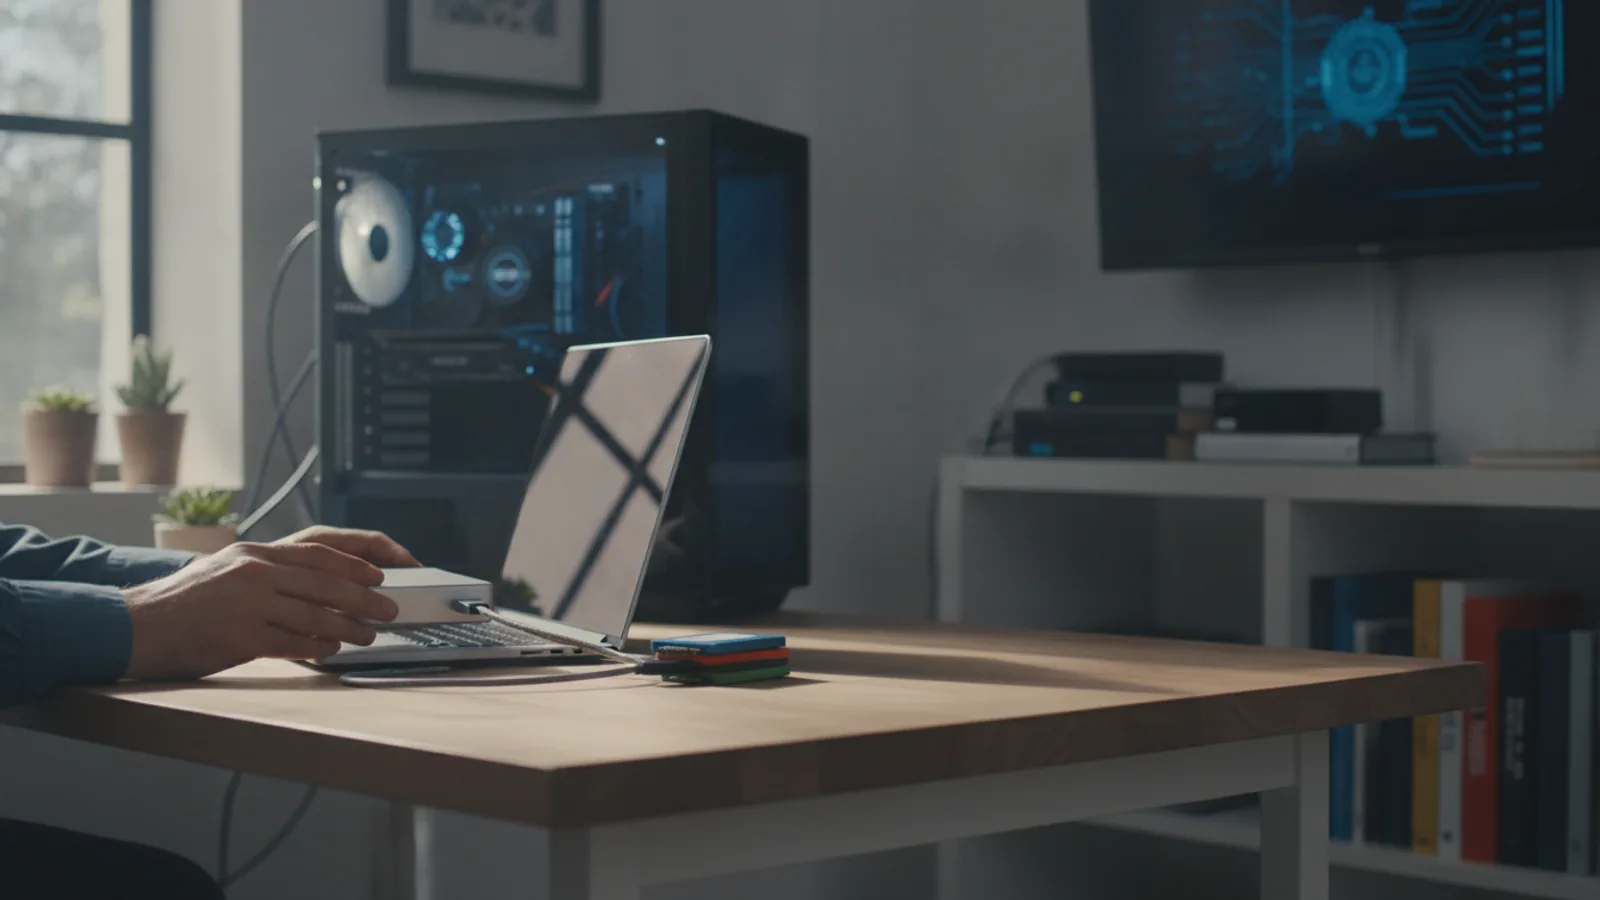
Take your new external drive out of the box and connect it to your computer using the supplied cable. For the best speeds, plug it directly into a USB 3.0 port (these are often blue) on your computer, not a USB hub.
Most external drives come pre-formatted to work with Windows. If you are using a Mac, you will need to reformat it. Be warned: formatting permanently erases everything on the drive. If you are re-using an old drive, make sure you have copied any files you want to keep from it first.
- On a Mac: Open the Disk Utility app. Select your external drive from the list on the left, click the Erase button at the top, give it a name (like "Mac Backup"), choose the format APFS, and click Erase.
- On Windows: The drive will likely work out of the box. If you need to reformat it, open File Explorer, right-click the drive, select Format, ensure the file system is set to NTFS, and click Start.
Set Up Automatic Backups on Windows
Windows has a fantastic built-in tool called File History that automatically backs up versions of your files. It's easy to set up.
- Open the Start Menu and go to Settings (the gear icon).
- Click on Update & Security, then select the Backup tab from the menu on the left.
- Under the "Back up using File History" section, click Add a drive. Windows will search for connected drives and you should see your external drive appear. Select it.
- That's it! File History is now turned on. It will automatically start backing up the files in your main user folders (Desktop, Documents, Pictures, Music, etc.) every hour.
To customise the settings, click on More options on the same screen. Here you can change how often backups run, how long old versions are kept, and add or remove folders from the backup plan.
Set Up Automatic Backups on a Mac
Apple's backup solution is called Time Machine, and it is famously simple and reliable. It not only saves your files but also versions of them, so you can "go back in time" to see what a document looked like last Tuesday.
- Click the Apple menu in the top-left corner of the screen and open System Settings.
- Click on General in the sidebar, then select Time Machine.
- Click the Add Backup Disk button. A window will pop up showing available drives.
- Select your external drive from the list and click Set Up Disk. You will be given the option to Encrypt Backup, which is highly recommended. This password-protects your backup so no one can access it if the drive is lost or stolen. Choose a strong, memorable password.
Time Machine will now automatically begin your first backup and will continue to run quietly in the background, saving hourly snapshots of your changes as long as the drive is connected.
Run Your First Full Backup
Whether you're using Windows or a Mac, the first backup is the most important and takes the longest. It has to copy every single file you've chosen to protect. This process can take anywhere from 30 minutes to a full day, depending on how much data you have and the speed of your drive.
The best approach is to start it before you go to bed. Make sure your laptop is plugged into its power adapter, as the backup process uses a lot of energy. Let it run overnight without interruption. Both File History and Time Machine will show you a progress bar so you can see how it's getting on. Subsequent backups will be much faster, as they only need to save the new or changed files since the last run.
Verify Your Backup Is Working
A backup is only useful if you can restore files from it. Never assume it's working correctly; you must test it. This is the most-skipped step, and it's the one that can cause the most heartbreak. A quick test takes less than two minutes.
- Create a new, unimportant test file. For example, open a text editor, type "This is a test," and save it to your Desktop as backup-test.txt.
- Wait for your next automatic backup to run, or trigger one manually (in the "More options" section of File History or by clicking "Back Up Now" in the Time Machine menu).
- Once the backup is complete, delete the backup-test.txt file from your Desktop and empty the Recycle Bin/Trash.
- Now, try to restore it. On Windows, go to the File History settings and find the "Restore personal files" link. On a Mac, open Time Machine. Navigate to your Desktop, go back in time to before you deleted the file, select it, and click Restore.
If the file reappears on your Desktop, congratulations! Your backup system is working perfectly.
Quick Reference
| Situation | Use This Method | Why |
|---|---|---|
| I'm a beginner and just want to protect my personal files (documents, photos). | An external hard drive with File History (Windows) or Time Machine (Mac). | It's the cheapest, easiest, and fastest method to set up using free, built-in tools. |
| I'm very worried about losing my data in a fire, flood, or theft. | A cloud backup service. | It creates an off-site copy of your data, physically separate from your home and computer. |
| My laptop hard drive failed and I need to restore my entire system to a new one. | A full system image backup (an advanced option in Windows Backup) or a Time Machine backup. | These back up everything, including the operating system and programs, allowing for a complete "bare-metal" recovery. |
| I need to work on the same files across my desktop, laptop, and phone. | A cloud syncing service like OneDrive, Google Drive, or Dropbox. | This is for file synchronisation, not true backup. It keeps files identical everywhere but doesn't protect against accidental deletion. |
Common Problems When You Backup Your Computer
My backup is taking forever to complete.
The first backup is always the slowest because it's copying everything. Let it run overnight. For future backups, ensure you're using a fast USB 3.0 (or newer) port and drive. Avoid running other intensive tasks like video editing or gaming while the backup is in progress. If you're using a cloud service, your internet upload speed is the limiting factor; check you have a strong Wi-Fi signal or use a wired Ethernet connection.
I got an error saying there isn't enough space on my backup drive.
This is a common issue. Your first option is to buy a larger drive. Your second, cheaper option is to reduce the amount of data you're backing up. Go into the backup settings (File History's "More options" or Time Machine's "Options") and exclude folders containing non-essential, large files. Good candidates for exclusion are game installation folders, virtual machine files, or large video folders that you have stored elsewhere.
The backup process failed or keeps getting stuck.
First, unplug the external drive and plug it back in, preferably into a different USB port. Restart your computer. These simple steps fix most temporary glitches. If it still fails, the drive itself might have errors. Use the built-in repair tools: on Windows, right-click the drive in File Explorer, go to Properties > Tools, and click "Check". On a Mac, use the "First Aid" function in Disk Utility. As a last resort, reformatting the drive and starting the backup process from scratch can solve persistent issues.
Advanced Tips for Backing Up Your Computer
Embrace the 3-2-1 Backup Rule
For truly robust data protection, professionals follow the 3-2-1 rule. It might sound complex, but the idea is simple and provides layers of safety.
- THREE total copies of your important data. (The original on your computer, plus two backups).
- TWO different types of storage media. (e.g., your computer's internal drive and an external hard drive. This protects you if a whole batch of one type of drive fails).
- ONE copy stored off-site. (This is the crucial one. An off-site copy can be a cloud backup or a second external drive that you keep at your office or a relative's house. It protects you from theft, fire, or flood).
Understand System Images vs. File Backups
File History and the default Time Machine setup are primarily file backups. They copy your personal files and folders. A system image (also called a "clone") is a different beast: it creates an exact, bit-for-bit copy of your entire hard drive, including Windows or macOS, all your settings, and every program. System images are perfect for disaster recovery. If your main drive dies, you can use the image to restore your computer to its exact previous state on a new drive, saving you days of reinstalling everything. Both Windows and macOS have tools to create system images, though they are more advanced options.
Always Encrypt Your Backup Drive
Your backup contains a copy of your entire digital life. If your external drive is lost or stolen, an unencrypted backup gives a thief access to everything. Encryption scrambles the data, making it unreadable without a password. When setting up Time Machine on a Mac, always check the "Encrypt Backup" box. On Windows, you can use the built-in BitLocker tool by right-clicking your backup drive in File Explorer and selecting "Turn on BitLocker". Just be sure to store the password and recovery key somewhere extremely safe—if you lose it, your backup is gone forever.
How To Backup Your Computer FAQ
How often should I back up my computer?
The best backup strategy is an automatic one. Both Windows File History and macOS Time Machine are designed to run in the background, typically every hour. This is ideal for most people. If you don't keep your external drive connected all the time, make it a habit to plug it in at least once a day to let it catch up.
What is the difference between backup and sync?
This is a critical distinction. Syncing (like with OneDrive, Dropbox, or Google Drive) makes your files identical across multiple devices. If you delete a synced file from your laptop, it's also deleted from the cloud and your other devices. Backing up creates a separate, safe copy of your data for recovery. If you delete a file from your laptop, the copy in your backup remains untouched, allowing you to restore it later. You should use both: sync for convenience, backup for safety.
Can I use a USB flash drive (memory stick) for backups?
It's not recommended for a full computer backup. USB flash drives are generally too small to hold all your files, and more importantly, they are not designed for the frequent, heavy use that automatic backup software performs. They are more prone to failure under these conditions than a proper external hard drive or SSD. They are fine for making a quick, temporary copy of a few important documents, but should not be your primary backup.
Should I back up my programs and apps?
For most people, no. It's usually faster and safer to simply re-download and install your programs from the internet if you ever need to set up a new computer. Your backup efforts should focus on your personal data—the documents, photos, and projects that are unique and irreplaceable. The main exception is if you create a full system image, which includes everything by design.
Final Checklist for Backing Up Your Computer
- You have chosen a backup method (e.g., an external hard drive).
- Your backup destination has at least double the space of the data you're protecting.
- You have used your computer's built-in tools (File History or Time Machine) to set up automatic backups.
- Your first full backup has completed without any errors.
- You have successfully tested your backup by restoring at least one test file.
- You have enabled encryption on your external drive to protect your privacy.
- You have a plan to keep the backup running regularly (e.g., leaving the drive connected or plugging it in daily).