How To Set Default Font In Word
A practical step-by-step guide to how to set default font in word, including preparation, instructions, common issues, tips, and next steps.
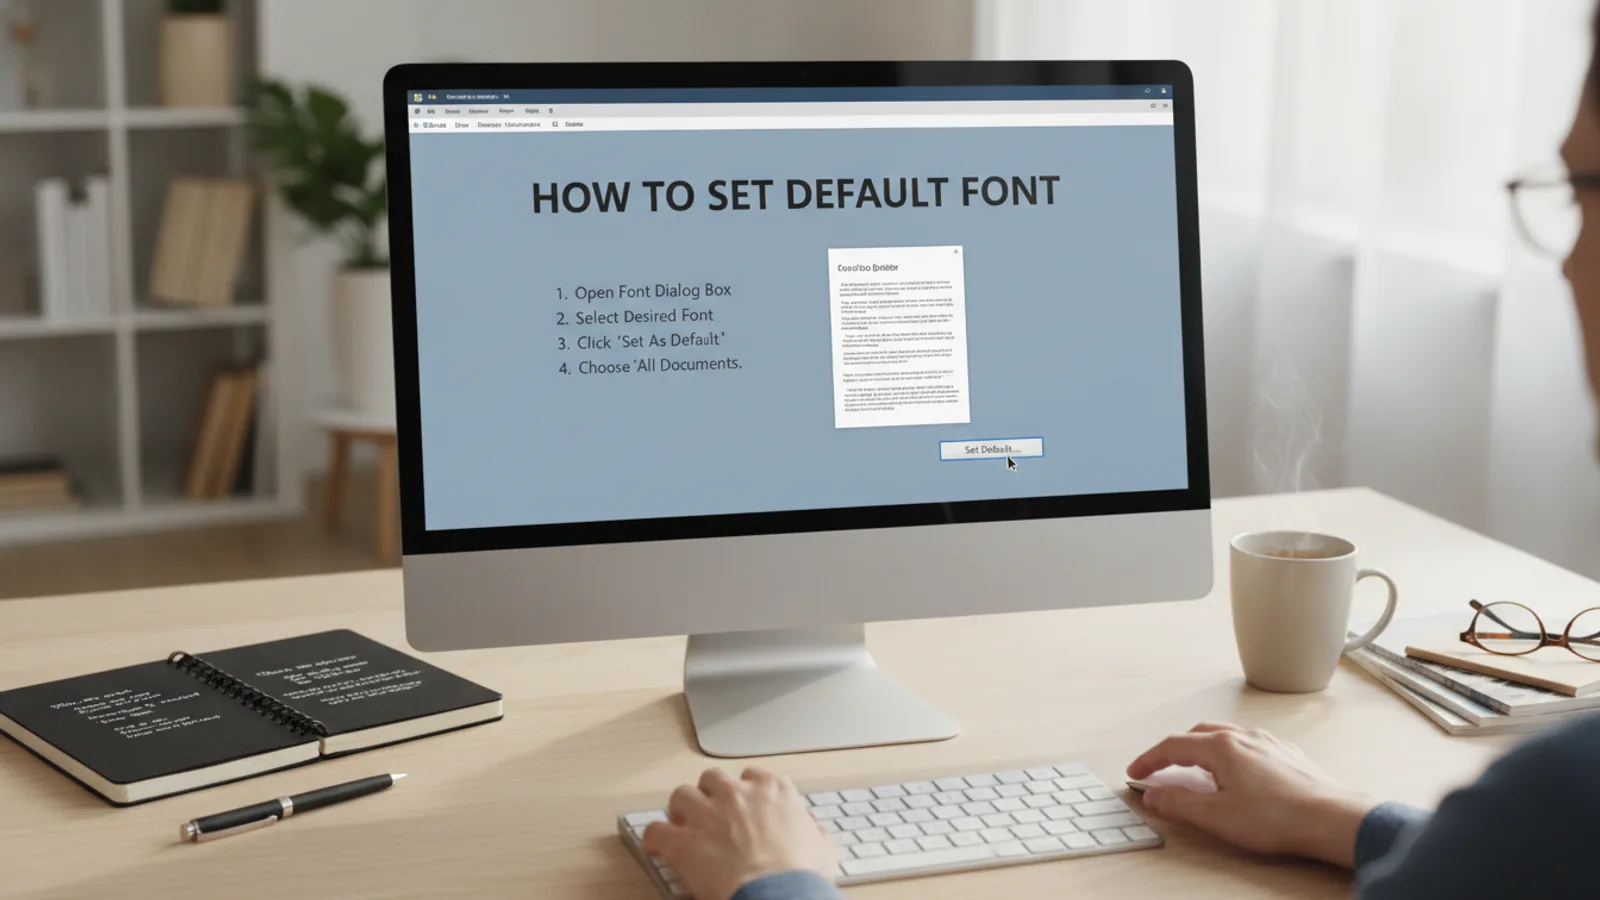
How To Set Default Font In Word
This guide explains how to approach how to set default font in word, including the preparation, practical steps, common mistakes, and final checks that help you finish with confidence.
Before You Start
Step-by-Step Instructions
Quick Reference
Common Problems When You Set Default Font In Word
Problem: The default font didn't change for my old documents.
Explanation: This is the most common misunderstanding. When you set a default font in Word, it only applies to documents created *after* the change. Existing documents already have their own formatting saved within them.
Solution: For existing documents, you'll need to change the font manually. Open the document, select all the text (Ctrl+A or Cmd+A), and then choose your desired font, style, and size from the 'Font' section on the 'Home' tab of the ribbon. If the document uses styles, you might consider modifying the document's styles directly for a more consistent update.
Problem: The font changed temporarily, but reverted when I opened a new document.
Explanation: You likely clicked 'OK' instead of "Set As Default" in the Font dialog box, or you selected "This document only?" when prompted to choose the scope of your changes. This means the setting was only applied to the current document and not saved to the 'Normal' template.
Solution: Repeat the steps, paying very close attention to Step 4 and Step 5. Ensure you click the "Set As Default" button and then explicitly choose "All new documents based on the Normal template?" in the follow-up prompt. Close and reopen Word to properly test the change.
Problem: My Word version looks different, and I can't find the "Set As Default" button.
Explanation: While the core process is consistent across recent Word versions, minor interface differences can sometimes be confusing. Older versions or different themes might have slightly varied placements or appearances for buttons.
Solution: Always start by trying the Ctrl+D (or Cmd+D) shortcut to open the 'Font' dialog box, as this is the most reliable way. Once in the dialog box, the "Set As Default" button is almost always in the bottom-left corner. If you are using a very old version of Word, the exact wording might be slightly different, but the intent will be clear. You can also consult Microsoft's official support for your specific Word version if you're still stuck.
Advanced Tips for How To Set Default Font In Word
Customise Document Themes for Broader Consistency
While setting a default font is great for basic text, Word also uses 'Themes'. A theme defines a set of colours, fonts (heading and body), and effects for an entire document. If you frequently use specific font pairs (e.g., one for headings, one for body text), consider setting up a custom theme.
Go to the Design tab, click Fonts, then 'Customise Fonts'. Here you can pick default heading and body fonts. After setting these, click 'Set as Default' on the Design tab to apply this theme to all new documents, giving you more granular control than just the body font alone.
Leverage Styles for Consistent Formatting
Instead of relying solely on the default font, master Word's 'Styles'. Styles (like Normal, Heading 1, List Paragraph) are predefined sets of formatting (font, size, colour, paragraph spacing, etc.) that you can apply to different parts of your document. By modifying the 'Normal' style's font, you achieve the same outcome as setting the default font via the dialog box.
To modify a style: On the Home tab, right-click on the 'Normal' style in the 'Styles' gallery and select Modify.... From here, you can change the font, size, and more. Importantly, select 'New documents based on this template' at the bottom of the 'Modify Style' dialog box to make it your default.
Back Up Your Normal.dotm Template
The 'Normal.dotm' template stores all your default settings, including your custom default font. If this file ever becomes corrupted or you need to reinstall Word, you could lose your customisations.
You can find the 'Normal.dotm' file by typing %appdata%\Microsoft\Templates into your Windows search bar and pressing Enter. This will open the folder containing the template. It's good practice to make a copy of this file and store it in a safe location after you've made significant customisations. This way, you can easily restore your preferred settings if needed.
Resetting to Word's Original Default Font
If you ever want to revert to Word's factory default font (usually Calibri, 11pt), there are a couple of ways. The easiest is to simply repeat the steps in this guide, selecting Calibri and 11pt as your desired font and size, then saving it as the default for 'All new documents based on the Normal template'.
Alternatively, if you suspect your 'Normal.dotm' template is problematic, you can locate it (as described above), close Word, and then delete or rename the 'Normal.dotm' file. The next time you open Word, it will automatically create a new, fresh 'Normal.dotm' template with all its original default settings.
How To Set Default Font In Word FAQ
Q: Can I set a different default font for different types of documents?
A: Yes, you can! Instead of modifying the 'Normal.dotm' template, you can create custom templates for specific purposes. For example, you could have a 'Letter Template' with a formal font and a 'Report Template' with a more modern font. When creating a new document, you would then choose which template to base it on.
Q: Why does my default font change when I copy text from another source?
A: When you copy text, it often brings its original formatting with it. To avoid this, use 'Paste Special' options. After copying, right-click where you want to paste and select 'Merge Formatting' or 'Keep Text Only'. This will adopt the formatting of your destination document, including your default font.
Q: Does this work the same way for Word on a Mac?
A: The principles are the same, but the specific menu paths or keyboard shortcuts might differ slightly. On a Mac, you'd typically go to Format > Font to open the font dialog box, and the options to 'Default...' for all new documents will be similar once inside that window.
Q: How do I change the default font for email messages in Outlook (which uses Word as its editor)?
A: While Outlook uses Word's editing engine, its default font settings are managed separately within Outlook itself. In Outlook, go to File > Options > Mail > Stationery and Fonts.... Here you can set the default fonts for new mail messages, replying/forwarding messages, and composing and reading plain text messages.
Final Checklist for How To Set Default Font In Word
- ✅ Have you opened a new blank Word document?
- ✅ Did you open the 'Font' dialog box (via Home tab or Ctrl+D)?
- ✅ Have you selected your desired font, style, and size?
- ✅ Did you click the "Set As Default" button?
- ✅ Did you select "All new documents based on the Normal template?" in the prompt?
- ✅ Have you closed and re-opened Word to test if the new default font is active in a fresh document?
- ✅ (Optional) Have you considered creating a backup of your 'Normal.dotm' template?